
Filming youth volleyball games can quickly become overwhelming. One match can easily turn into 80–100 clips.
Over time, I developed a simple system using my iPhone, iPad, cloud sync, and CapCut. It keeps everything organized and makes creating ACE and highlight videos much easier.
Here’s exactly how I do it.
Step 1: Record Only Game Clips
I record only actual volleyball plays, not warm-ups or breaks.
My Setup:
- • iPhone
- • Tripod
- • Remote control
I press record when the rally starts and stop when it ends.
Each rally becomes one clip.
That’s why I usually end up with 80–100 clips per game.
This method keeps everything clean and easy to sort later.
Where I Stand When Filming
I prefer filming from behind the end line, centered.
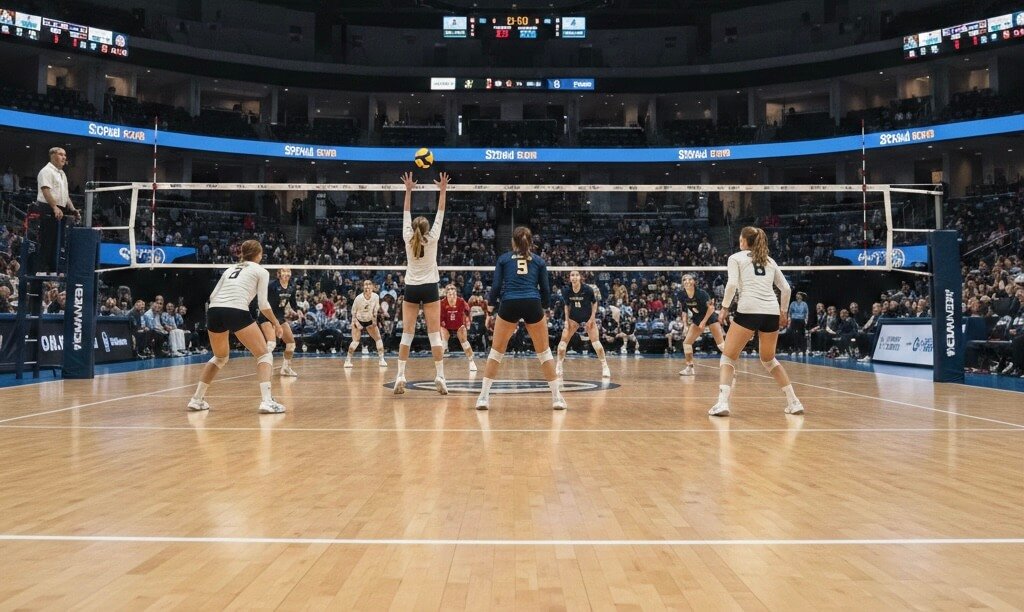
This angle allows:
- A full view of both teams
- Clear visibility of serve receive formation
- Better understanding of court positioning
However, not every gym allows that setup.
If the gym is narrow or space is limited, I adjust:
- I may film from the side line, making sure both teams are fully visible.
- Sometimes I film from our team’s back corner if that angle provides better space and stability.
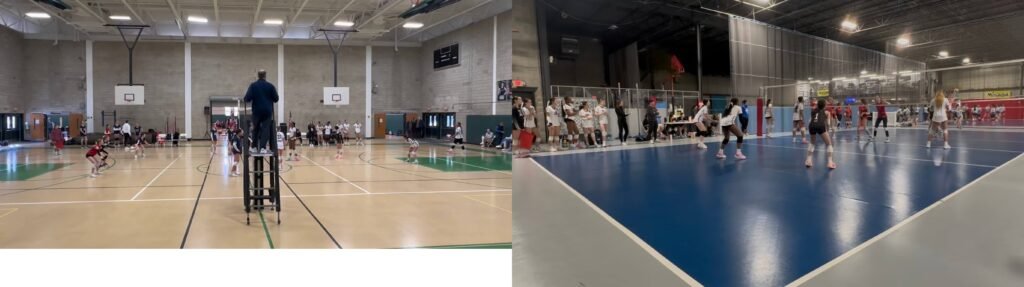
The goal is simple:
Make sure both teams and the entire rally are visible — not just one player.
Flexibility matters more than a perfect angle.
Step 2: Sync to the Cloud After the Game
After the tournament, I sync all clips to the cloud.
This allows me to:
- View clips on my iPad
- Edit on a larger screen
- Organize more comfortably
Editing on the iPad is much easier than working only on the phone.
Step 3: First Selection – Use the Heart (Favorite) Icon
While watching the clips on my iPad:
- I tap the heart (favorite) icon on clips I want to keep.
- These are strong plays, scoring moments, and potential highlights.
My daughter specifically wants:
- ACE clips
- Highlight clips that end with points
So I mark anything that fits those categories.
This first round is simply about selecting everything worth editing.
Step 4: Create a Main Game Folder
Next, I save all selected clips into a separate folder.
For example:
If it’s the third Power League tournament and the first game,
I name the folder:
PowerLeague #3-1
Now every clip inside this folder is heart-marked.
This keeps everything organized by tournament and match.
Step 5: Separate ACES From Highlights (My Sorting Method)
Here’s the key part of my system.
While reviewing the clips inside PowerLeague #3-1:
- I remove the heart from the clips that are ACE serves.
Now:
- Clips still marked with a heart = highlight candidates
- Clips without a heart = ACE clips
Next:
- I gather all clips without hearts.
- I create a new folder called:
PowerLeague #3-1 ACES
- Then I delete the non-hearted clips from the original folder.
Now the original folder contains only:
PowerLeague #3-1 Highlights
At the end, I have two clean folders:
- PowerLeague #3-1 ACES
- PowerLeague #3-1 Highlights
This makes editing much faster and more organized.

Why This System Works
Instead of rewatching 100 clips repeatedly, I:
- Filter once
- Separate clearly
- Keep folders clean
- Avoid confusion later
It may sound complicated at first, but after a few tournaments, it becomes automatic.
Step 6: Create the Video Using CapCut
After organizing the folders, I use CapCut to create videos.
In CapCut, I:
- Import the ACES folder to create an ACE compilation
- Import the Highlights folder to create a highlight video
- Trim slightly if needed
- Keep clips short and clean
- Add simple text (name, jersey number, tournament)
- Capcut free version has capcut water mark in the end. I delete it.
Since everything is already sorted, editing becomes quick and stress-free.
Final Thoughts
You don’t need expensive equipment.
You don’t need professional editing skills.
What you need is:
- A tripod
- A remote control
- A simple folder system
- Consistency
One game can produce 80–100 clips.
Without organization, that becomes overwhelming.
With a system, it becomes manageable — and even enjoyable.
And when the time comes to build a larger highlight reel in the future, everything is already prepared.